Corporate: Sanepa, Lalitpur, Nepal Factory: Bardaghat, Nawalparasi, Nepal

How to Join CPVC and UPVC Pipes Without Leaks
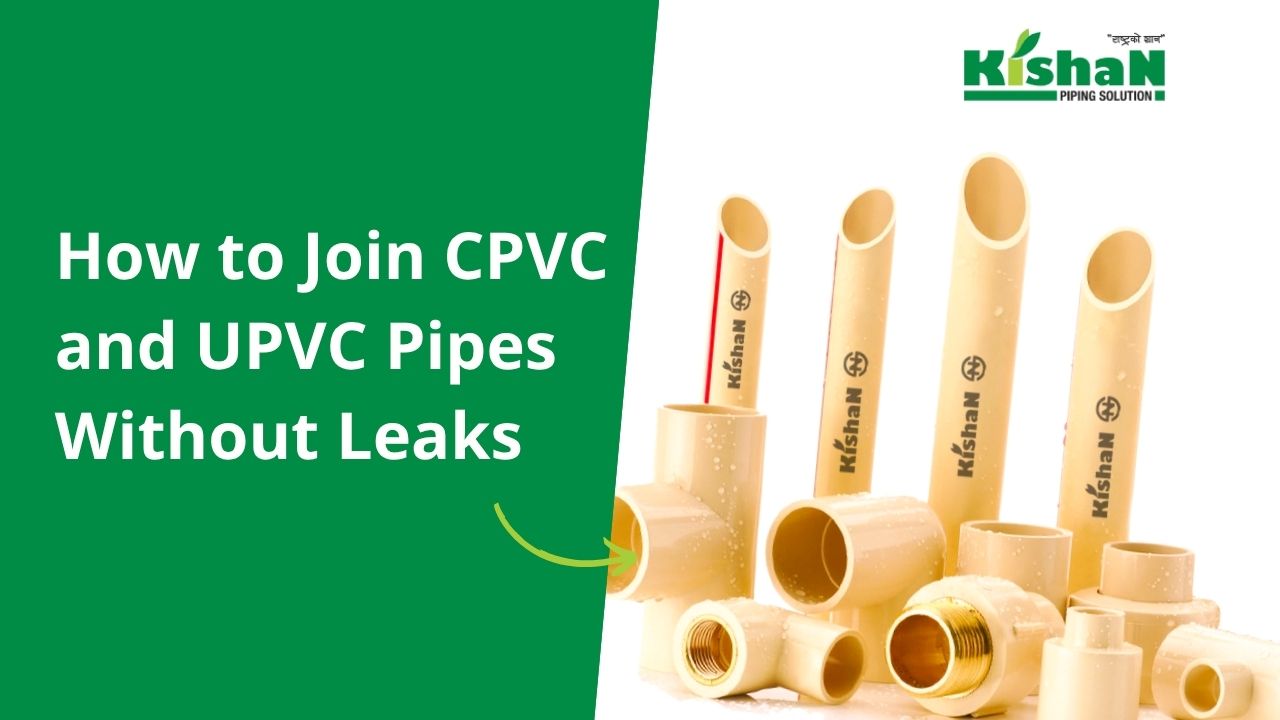
A plumbing system can use high quality pipes and still occur leaks. The problem often starts at the joints where pipes connect with fittings. An uneven cut, dirty surface, wrong cement, or poor alignment can weaken the connection.
A small pipe joint leakage may not seem serious at first. However, hidden leaks can damage walls, ceilings, flooring, and other parts of a home. Repairs can become even harder when plumbing is already covered with tiles or plaster.
Proper CPVC pipe joining and UPVC pipe joining can help prevent these problems. The process involves choosing appropriate materials, preparing the pipe correctly, making a proper connection, allowing enough curing time, and testing the system before use.
This guide explains how to join CPVC and UPVC pipes correctly in a simple and practical way.
Quick Answer: To join CPVC or UPVC pipes without leaks, make a clean cut, remove burrs, and clean the pipe and fitting. Dry fit the connection first, then use a solvent cement that is compatible with the specific pipe system. Apply it according to the product instructions, insert the pipe fully into the fitting, and keep the joint stable while it sets.
Allow the recommended curing time before testing the plumbing. Finally, inspect and test the system before concealing the joints.
In simple terms: correct pipe + matching fitting + proper preparation + compatible cement + correct assembly + curing + testing = a more reliable joint.
What You Need Before Joining CPVC or UPVC Pipes
Before beginning, gather the required equipment and supplies. This helps you work carefully instead of rushing after the cement is opened.
Basic tools
- Pipe cutter
- Measuring tape
- Marker
- Deburring tool
- Clean cloth
- Suitable applicator or brush
- Safety gloves and glasses
Required materials
Depending on the plumbing system, you may need:
- CPVC pipe and matching fittings
- UPVC pipe and matching fittings
- Coupling
- Elbow
- Tee
- Reducer
- Compatible solvent cement
- Primer, where required by the system
Do not use ordinary household glue for plumbing joints. Always check that the cement is suitable for the pipe and fitting material.
How to Prepare CPVC and UPVC Pipes for Joining
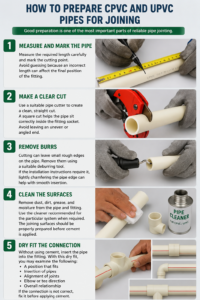
Good preparation is one of the most important parts of reliable pipe jointing.
1. Measure and mark the pipe
Measure the required length carefully and mark the cutting point. Avoid guessing because an incorrect length can affect the final position of the fitting.
2. Make a clear cut
Use a suitable pipe cutter to create a clean, straight cut.
A square cut helps the pipe sit correctly inside the fitting socket. Avoid leaving an uneven or angled end.
3. Remove burrs
Cutting can leave small rough edges on the pipe. Remove them using a suitable deburring tool.
If the installation instructions require it, lightly chamfering the pipe edge can help with smooth insertion.
4. Clean the surfaces
Remove dust, dirt, grease, and moisture from the pipe and fitting.
Use the cleaner recommended for the particular system when required. The joining surfaces should be properly prepared before cement is applied.
5. Dry fit the connection
Without using cement, insert the pipe into the fitting.With this dry fit, you may examine the following:
- A position that fits
- Insertion of pipes
- Alignment of joints
- Elbow or tee direction
- Overall relationship
If the connection is not correct, fix it before applying cement.
How to Join CPVC Pipes Step by Step
Knowing how to join CPVC pipe properly is important for residential hot and cold water plumbing.
1. Choose Appropriate CPVC cement
- Use solvent cement for CPVC pipes that is approved or recommended for the specific CPVC system.
- Do not assume every PVC or plastic cement is suitable for CPVC. Always check the product label and manufacture instructions before buying.
2. Prepare the pipe and fitting
- At first confirm both the surfaces are clean, dry, and free from burrs.
- Complete the dry fit before applying cement.
3. Apply primer if required
- Some systems require primer before cementing. Others may have different preparation requirements.
- Follow the instructions supplied with the specific cement and pipe system.
4. Apply the solvent cement
Apply the compatible cement according to the manufacturer’s instructions.
Using more cement does not automatically create a stronger joint. The goal is proper and even application.
5. Insert and align the pipe
Insert the pipe into the fitting socket as required.
Make sure the pipe insertion and joint alignment are correct before the cement begins to set.
6. Hold and cure the joint
Keep the connection stable while it sets. Do not immediately pull, twist, or put pressure on the joint.
Allow the recommended curing time before testing or using the plumbing system.
How to Join UPVC Pipes Step by Step
The basic process for UPVC pipe joining is similar, but the joining materials must be suitable for the specific UPVC/PVC system.
1. Select the correct solvent
- Use solvent cement for UPVC pipes that is applicable to the pipe and fitting.
- Check the product instructions before beginning.
2. Cut the pipe
- Measure and make a clean square cut.
- A straight pipe end helps create a proper connection inside the fitting socket.
3. Deburr and clean
- Remove rough edges after cutting. Clean the pipe and fitting surfaces and make sure they are dry.
4. Check the dry fit
- Insert the pipe into the fitting without cement.
- Check the fitting socket, pipe position, and joint alignment before proceeding.
5. Apply cement and put it together.
- Apply the recommended cement and insert the pipe correctly into the fitting.
- Do not force the pipe into an incorrectly positioned fitting.
6. Allow the joint to cure
- Keep the joint stable and allow the cement to cure according to the product instructions.
- Do not test or apply pressure to the connection before the required cure has been reached.
How to Choose the Right Solvent Cement
The right cement depends on the pipe material and the particular joining system.
| Criteria | CPVC | UPVC/PVC |
| Pipe | CPVC | UPVC/PVC |
| Fitting | Matching CPVC fitting | Matching UPVC/PVC fitting |
| Cement | Compatible CPVC cement | Compatible UPVC/PVC cement |
| Main concern | Material compatibility | Material compatibility |
When deciding how to use solvent cement, check:
- Pipe material
- Fitting material
- Cement specifications
- Pipe size
- Application
- Manufacturer instructions
Do not assume CPVC and UPVC/PVC pipes and fittings cements are automatically interchangeable.
CPVC and UPVC pipes and fittings sold in Nepal are manufactured to the NS 570 and NS 206 standards, which define material and dimensional compatibility for each system. Checking manufacturer instructions against these standards, rather than assuming cements are interchangeable, is the safest way to confirm compatibility.
Common Mistakes That Cause Pipe Joint Leaks
Many cases of pipe joint leakage are caused by simple installation mistakes.
1. Using the wrong cement
The joining material must be compatible with the pipe and fitting.
2. Skipping cleaning
Dust, moisture, grease, or other contamination can affect the joint.
3. Making an uneven cut
An angled or rough pipe end can make proper assembly more difficult.
4. Poor alignment
Forcing a fitting into the wrong position can place unnecessary stress on the joint.
5. Incomplete pipe insertion
The pipe needs to be inserted correctly into the fitting socket.
6. Testing too early
A joint needs enough time to set and cure before the system is tested.
Good leak prevention comes from getting several small details right rather than relying on one product.
How Long Does Solvent Cement Take to Cure?
There is no single solvent cement curing time that applies to every installation.
Curing can be affected by:
- Pipe size
- Temperature
- Humidity
- Cement formulation
- Installation conditions
For this reason, do not rely on a random curing time from an online article.
Always follow the solution instructions provided by the cement manufacturer. The joint should reach the required cure before pressure testing or putting the plumbing into service.
For larger or pressurized plumbing systems, follow the applicable testing requirements or consult a qualified plumber.
Can CPVC and UPVC Be Joined Together?
CPVC and UPVC should not be assumed to connect directly using the same solvent cement. A CPVC to UPVC connection may require an appropriate transition fitting or another approved joining method.
Before you begin joining various pipe materials, make sure to:
- Dimensions of the pipe
- Compatibility of fit
- Method of joining
- Requirements for pressure
- Requirements for temperature
- Instructions from the manufacturer
If you are unsure, do not improvise with ordinary glue or an unapproved cement.
How to Check a Newly Joined Pipe for Leaks
Check the plumbing before covering the joints with plaster, flooring, or tiles.
Inspect the connection
Look for:
- Cracks
- Poor alignment
- Damaged fittings
- Movement
- Incomplete assembly
Allow proper curing
Give the joint the required time to cure before testing.
Test the system correctly
Carry out the appropriate pressure testing according to the plumbing system’s requirements and the manufacturer’s instructions.
For pressurized systems, testing should be done carefully. Do not use compressed air or gas unless the applicable system requirements specifically allow it.
Final Checklist for a Reliable Pipe Joint
Before completing the plumbing work, check:
- Correct pipe and fitting selected
- The right pipe and fitting were chosen.
- Square-cut pipe
- Burrs eliminated
- Dry and clean surfaces
- The choice of compatible solvent cement
- Correct alignment maintained
- Pipe properly inserted
- Joint allowed to cure
- Appropriate pressure testing completed
- Joints inspected before concealment
Good preparation can prevent many avoidable plumbing problems.
Choose the Right CPVC and UPVC Pipes and Fittings
A reliable plumbing system starts with suitable pipes, matching fittings, and correct installation.
Kishan Pipe provides CPVC pipes and fittings for hot and cold water applications and UPVC/PVC pipes and fittings for applications such as water supply, drainage, irrigation, and residential plumbing.
For a new home or renovation project in Nepal, choose the pipe system according to the application and always use compatible joining materials. Proper preparation and installation are just as important as choosing a quality pipe.
Frequently Asked Questions
1. Can I use PVC cement on CPVC?
Not automatically. Check whether the specific cement is approved or recommended for the CPVC system you are installing.
2. Can CPVC and UPVC be joined together?
They should not be assumed to be directly solvent-weldable with the same cement. Use a compatible transition method recommended for the specific systems.
3. How long does CPVC solvent cement take to cure?
The CPVC solvent cement curing time varies with pipe size, temperature, humidity, cement type, and other conditions. Follow the manufacturer’s instructions.
4. Why does my CPVC pipe joint leak?
Common causes include poor preparation, incorrect cement, incomplete pipe insertion, poor alignment, movement during setting, or testing before proper curing.
5. Why does my UPVC pipe joint leak?
Check the pipe cut, deburring, cleanliness, cement compatibility, alignment, insertion, and curing process.